CentOS
This article describes the installation of the CentOS operating system. CentOS is a Red Hat clone that shares the same foundation with Red Hat. When you plan to put the Kubernetes cluster into production you can build on the described procedures described in this tutorial for a fully commercially supported operating system.
Download
First of all, you need to download the CentOS installation image. If your installation target is connected to the internet you can use the boot version of CentOS:
https://ftp.halifax.rwth-aachen.de/centos/8-stream/isos/x86_64
If you are offline during the installation without a connection to the internet you have to choose the full image:
https://ftp.halifax.rwth-aachen.de/centos/8-stream/isos/x86_64
When the image download is done, a bootable medium needs to be created from the ISO file. I recommend creating a USB based installation medium because it could be easily extended with kickstart options as described in the installation section. To create the USB medium, you can use the Fedora Media Writer available for Windows, macOS, and Linux. The Fedora Media Writer creates the bootable USB medium using two partitions. One with the EFI boot loader, one with the live installation image. Why this is important will be discussed in the next section.
Installation
The installation is pretty much straight forward. You can use the bootable USB medium, boot from that medium and do the installation manually. Unfortunately, I’m not a fan of doing things manually and fortunately, CentOS supports kickstart installations. This means, instead of clicking on all the configuration options you can describe in a special kickstart file how the server should look like. I’ve prepared the files for the small cluster that we are going to install. They are quite generic, so they should work in most of the situations, regardless if you use it on a virtual machine or if you use it on a physical host. With the following kickstart files you can create three boxes, on K8S master box and two worker nodes:
Adjust the passwords as needed and change the ssh key for the password less log in as appropriate. Before you can use the kickstart configuration you need to copy the files to the USB medium. Insert the USB medium in your client, after clicking on the USB medium a window should open that shows a folder called EFI. Create a second folder named ks and copy the three kickstart files to that folder. Once the USB medium is booted, select the menu entry “Install CentOS 8” and press [TAB]. You can now see the command line that is executed to do the normal install. Insert before the quite keyword the following string depending on the host you want to install:
inst.ks=hd:LABEL=ANACONDA:/k8s-master.cfg
inst.ks=hd:LABEL=ANACONDA:/k8s-worker-node-1.cfg
inst.ks=hd:LABEL=ANACONDA:/k8s-worker-node-2.cfg
More information about the kickstart installation process can be found in the CentOS documentation area:
https://docs.centos.org/en-US/8-docs/advanced-install/assembly_installation-introduction-experienced/
Configuration
Once the operating system is installed and booted, the initial configuration needs to be done. Start all nodes and log in with the “bofh” account on the master node:
> ssh -p 10022 bofh@localhost
Once this is done become root after the login:
> sudo su -
Now let’s do the basic configuration on all nodes using ansible:
> ssh-copy-id -i /root/.ssh/id_rsa.pub root@k8s-worker-node-1.vlab.local
> ssh-copy-id -i /root/.ssh/id_rsa.pub root@k8s-worker-node-2.vlab.local
> dnf -y install git ansible
> git clone https://github.com/thbe/kubernetes-demo.git
> cd kubernetes-demo/10_os/ansible/
> ansible-playbook -i production site.yml
Note: The playbook needs to be run twice if the first run reports errors. I discovered issues on my laptop caused by resource problems when updates are performed in parallel.
To ease the work with the nodes itself we will also enable the web administration interface:
> ansible all -i production -m systemd -a "name=cockpit state=started enabled=yes"
> ansible all -i production -a "/usr/bin/firewall-cmd --add-service=cockpit --permanent"
> ansible all -i production -a "/usr/bin/firewall-cmd --reload"
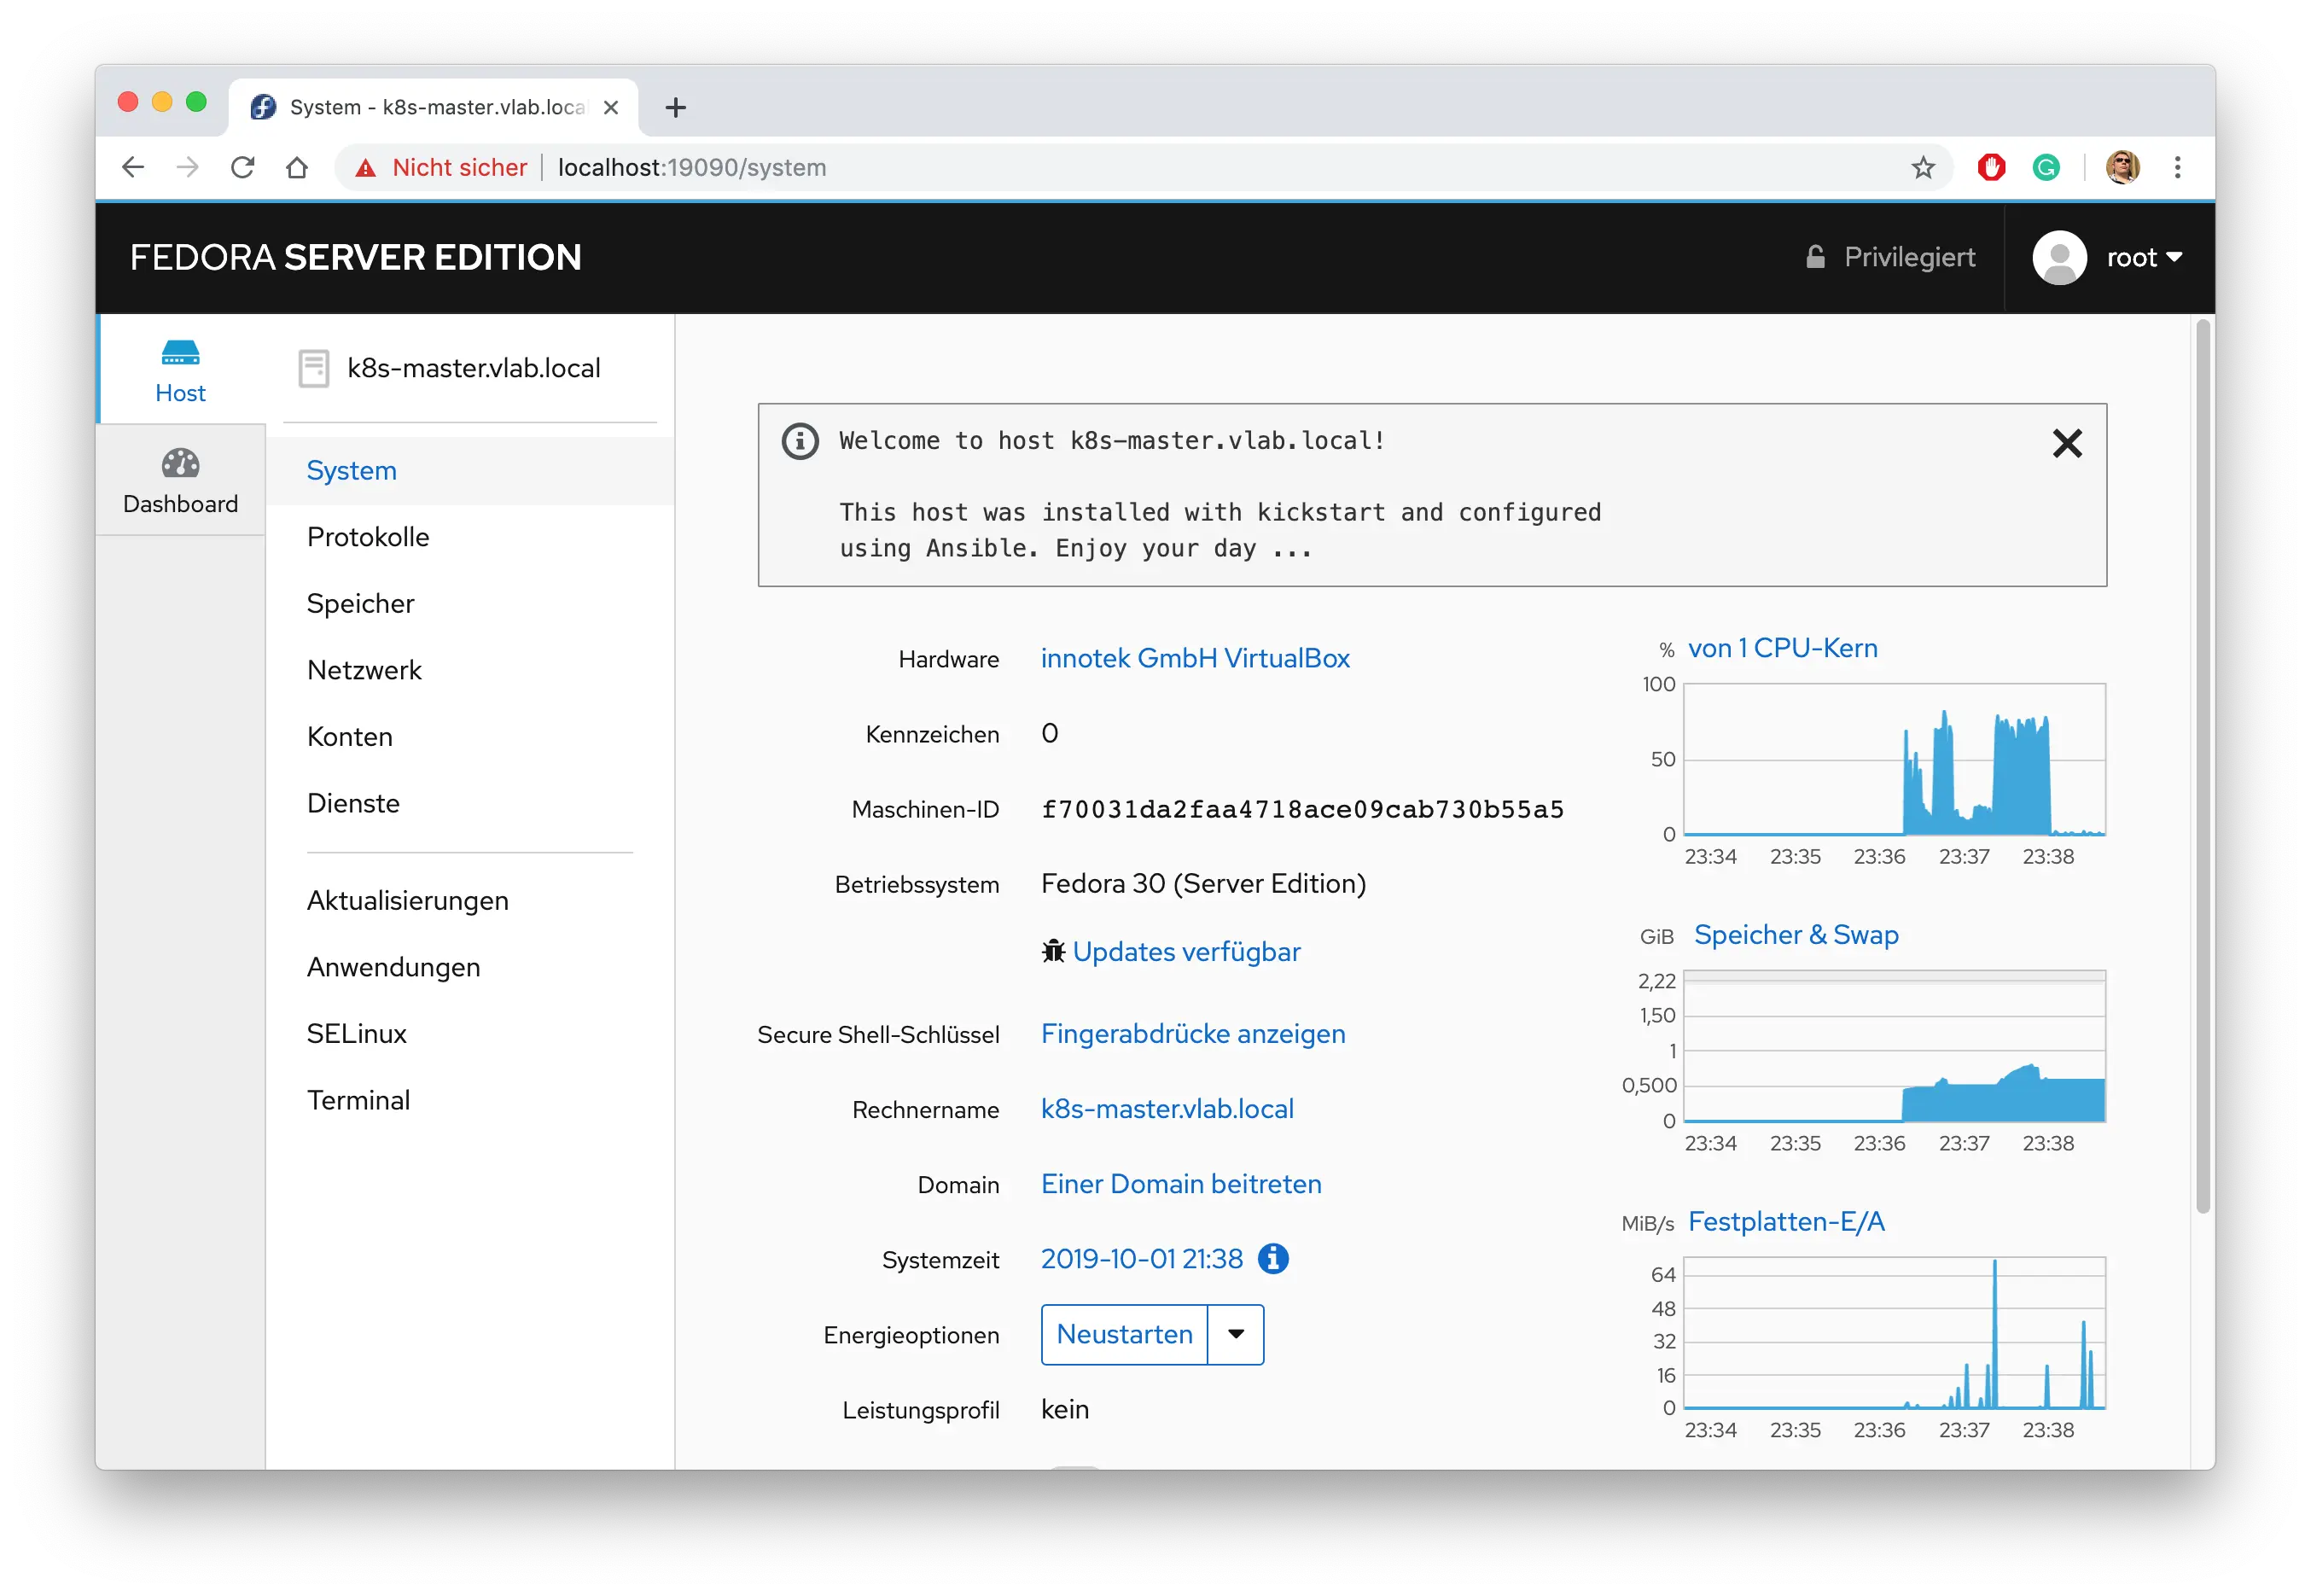
The master node can now be administered using the URL https://localhost:19090/ which looks like:
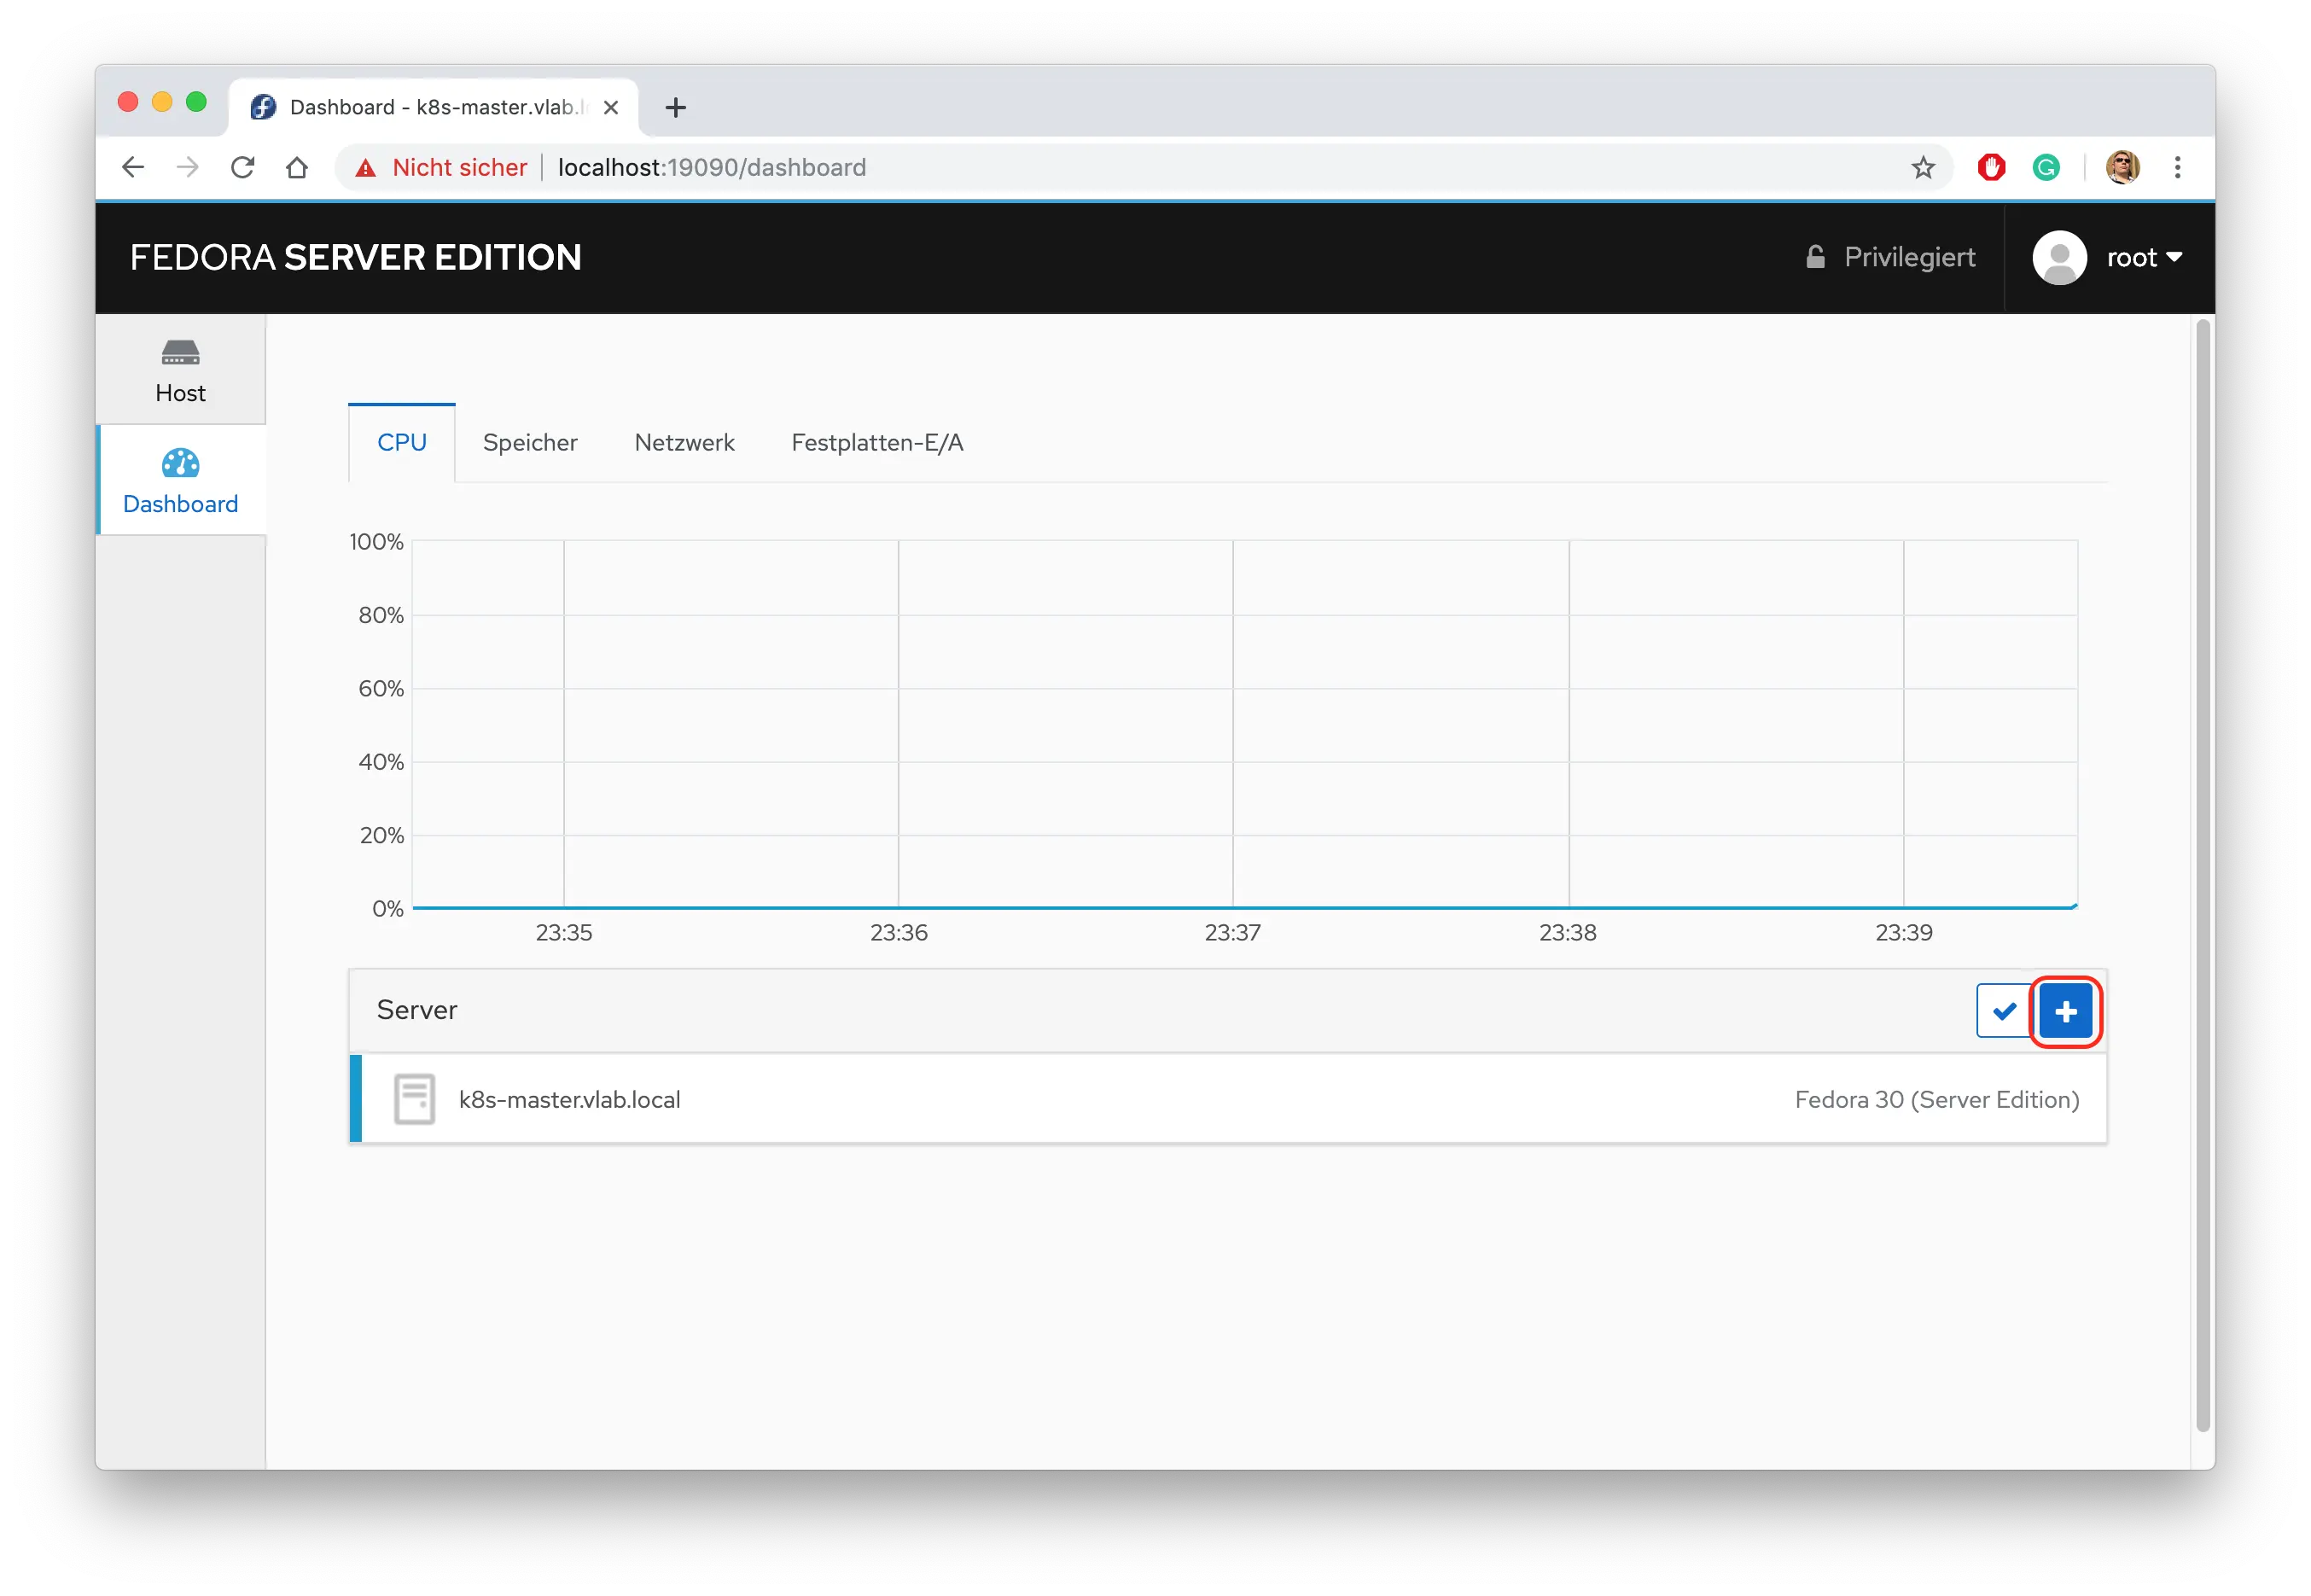
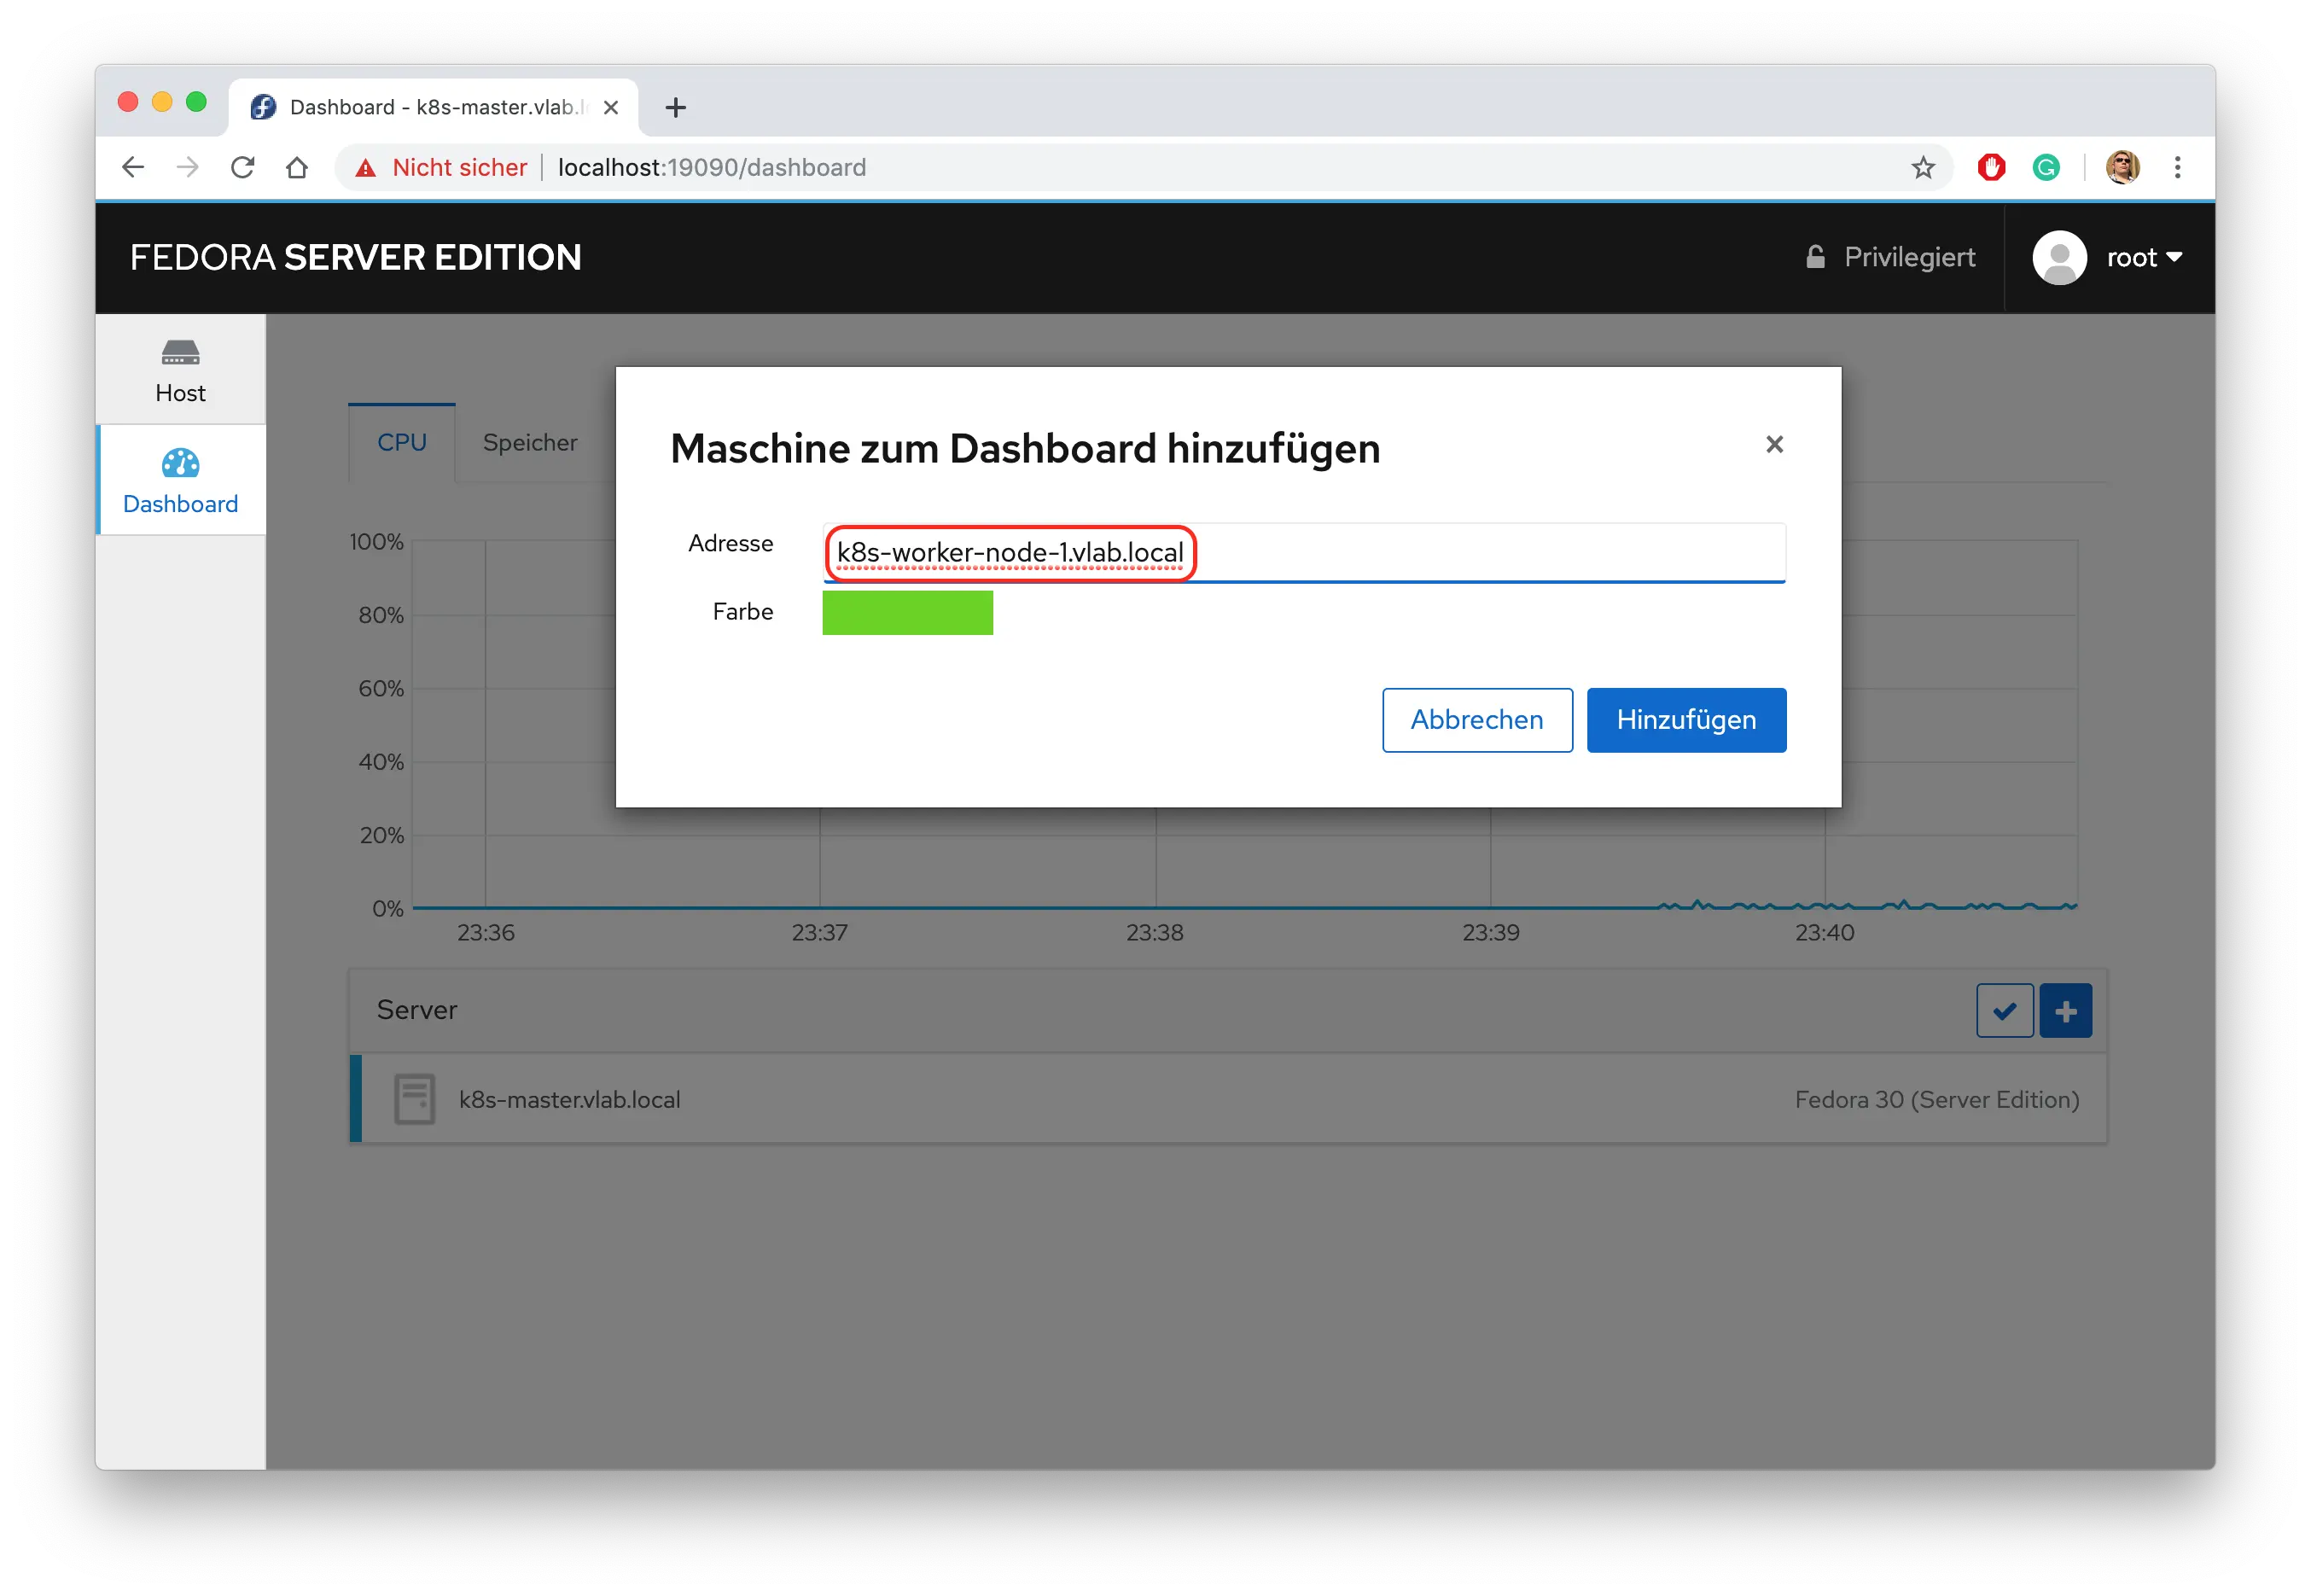
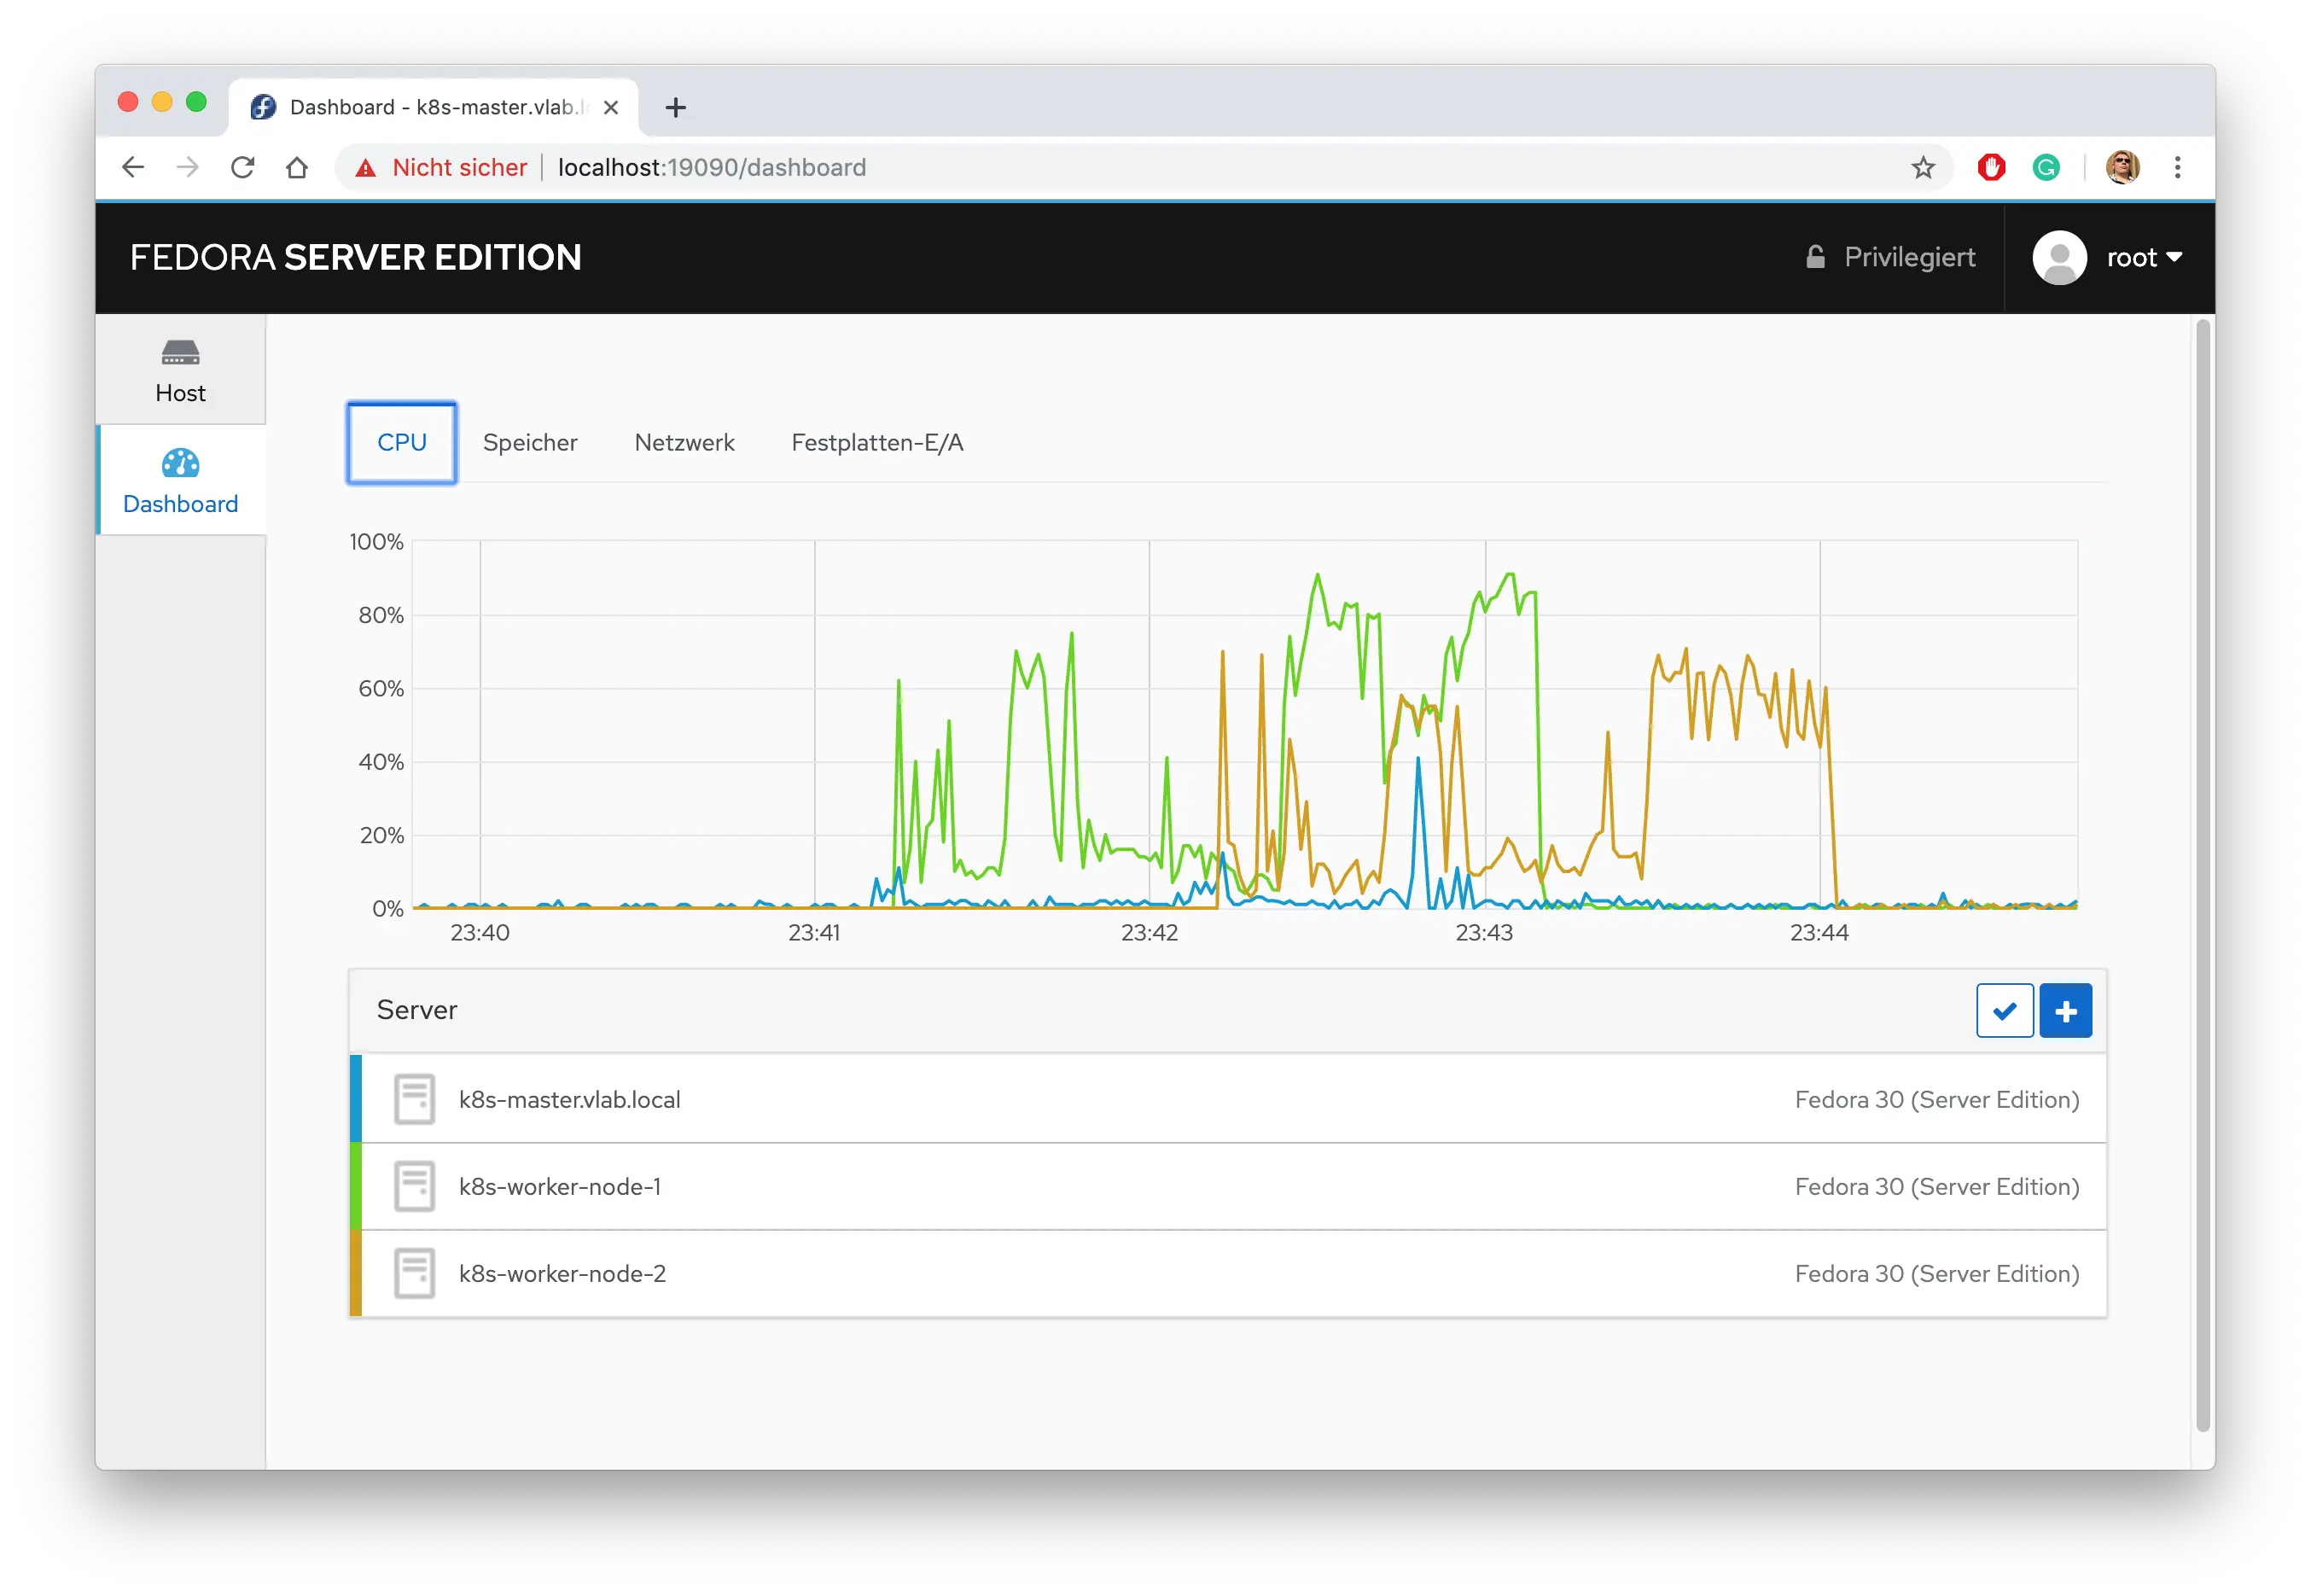
As we only have the master node exposed to the outside world you need to add the other nodes to the central cockpit interface if you wish to administer them as well:

The last step is to reboot all nodes:
> ansible-playbook -i production playbooks/reboot_hosts.yml
The system is now ready and prepared for the container/ cluster installation.